Automatic Potion Brewer Tutorial
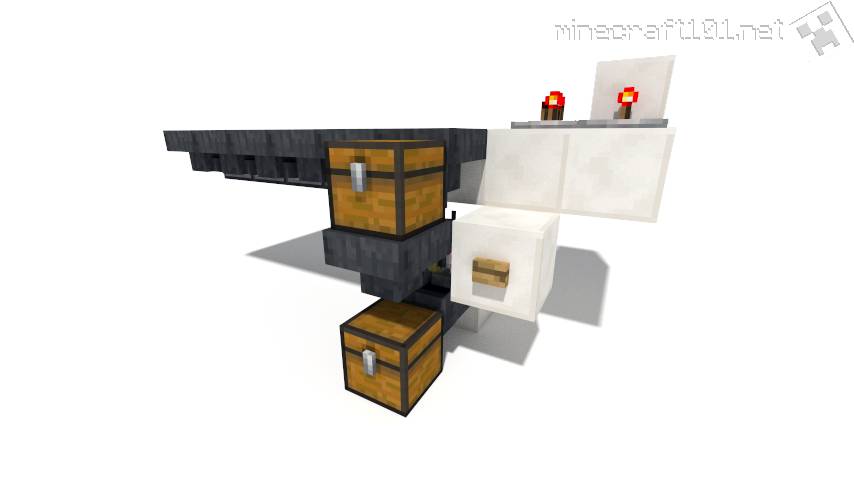
Automatic Brewing Station
This automated potion brewing station is easy to understand and build. You can make one for each type of potion you regularly need: perhaps one near your chicken farm to make Splash Potions of Harming, and one near your Nether to make Potions of Fire Resistance.
How it Works
When you press the button, the three potions in the brewing stand are dispensed into the chest at the bottom. All the ingredients for making the nextbatch of potions will be queued up and brewing will start.
Building Instructions
What you will need
- 1 Brewing Stand
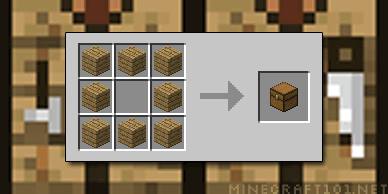
- 2 Chests
- 6–9 Hoppers
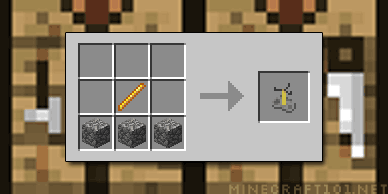
- 2–5 Droppers
- 7–10 Redstone Dust
- 1 Wooden Button
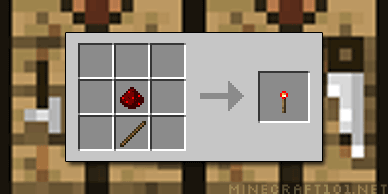
- 1 Redstone Torch
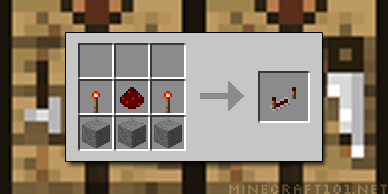
- 3 Redstone Repeaters
- Potion ingredients
Step by step
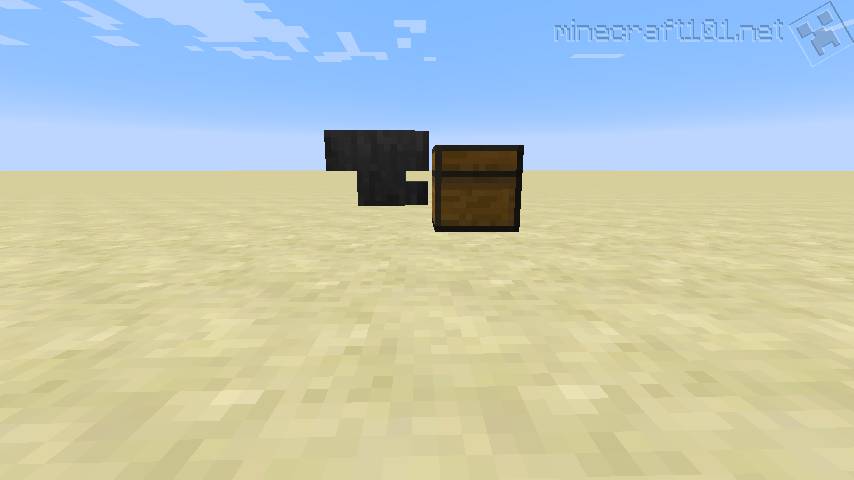
First place a chest with a hopper feeding into the back of it. This is where the potions will be delivered after brewing.
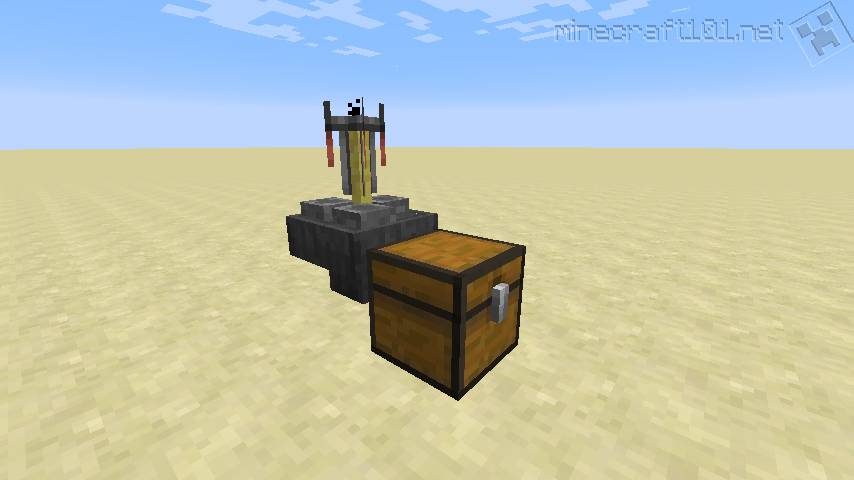
Place a Brewing Stand on top of the Hopper.
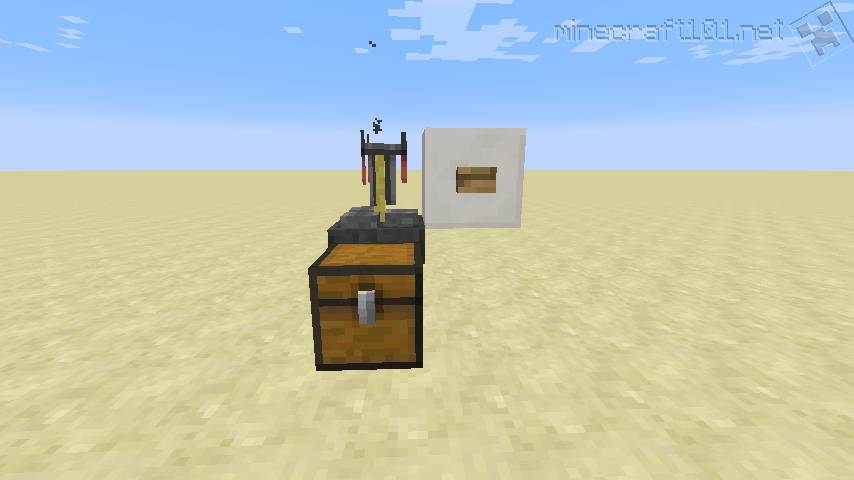
Place a Wooden Button on a solid block next to the Brewing Stand.
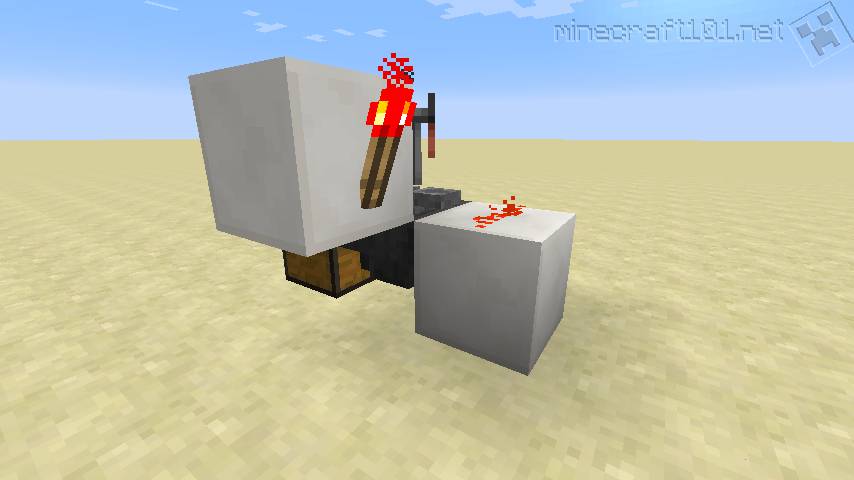
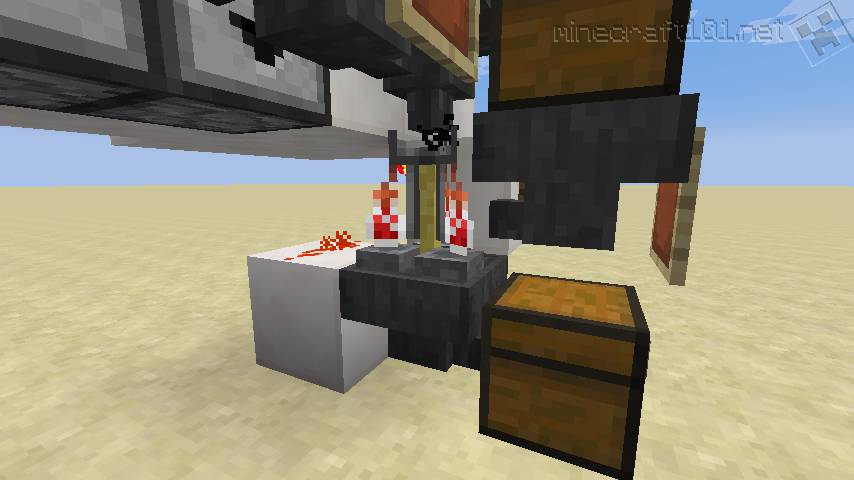
Go around the back and place a Redstone Torch on the block with the button, and another block with Redstone Dust as shown.
Now place two more Hoppers feeding into the Brewing Stand: one from the top and one from the front.
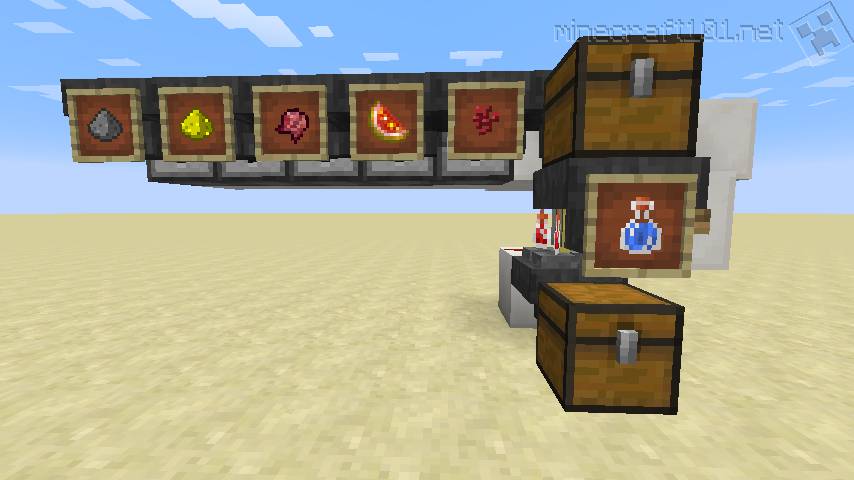
Place a Chest on top of the front Hopper. This is where Water Bottles will be stored.
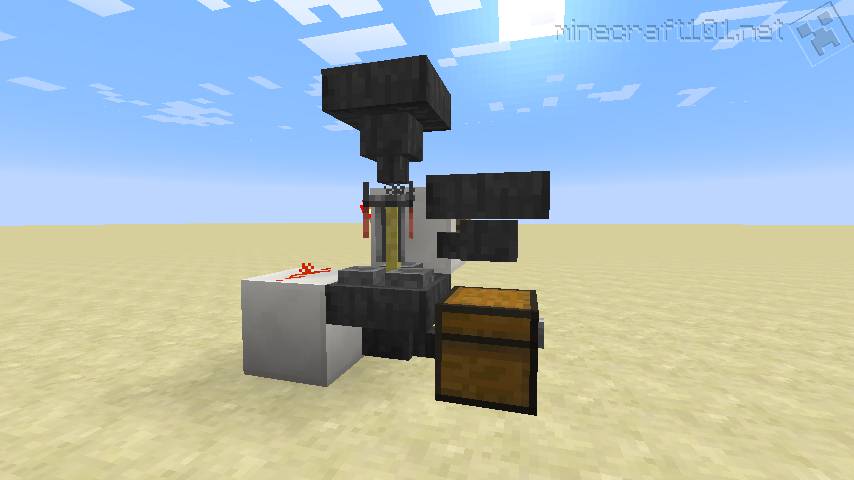
Now place a row of hoppers all feeding into the top Hopper. You will need between 2 and 5 of these depending on which type of potion you want to make.
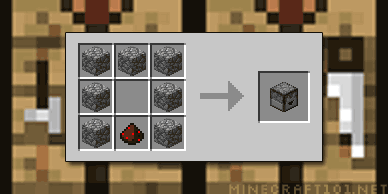
Place a dropper feeding into each of these hoppers. You will also need a solid block behind each dispenser.
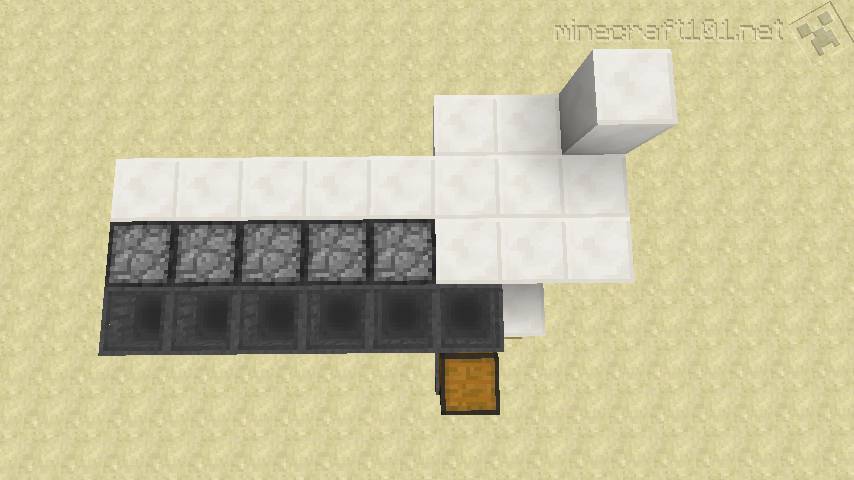
Top view: Place some more blocks to provide a platform for the redstone wiring.
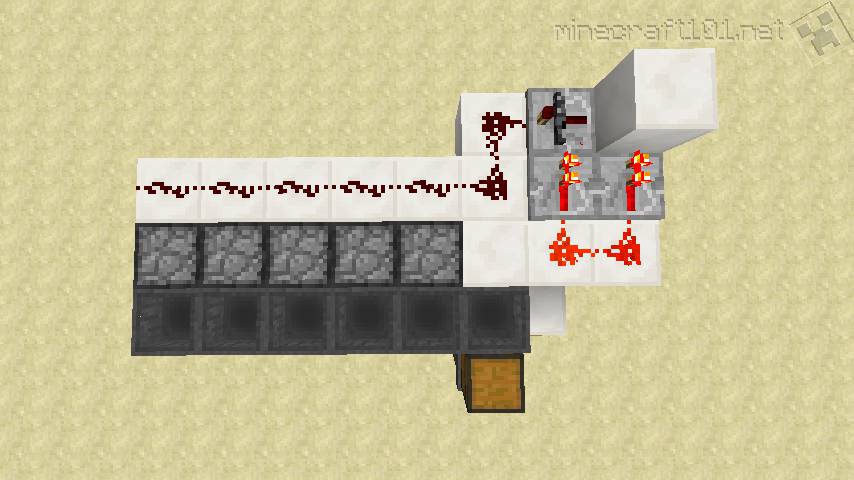
Place Redstone Dust and 3 Repeaters as shown. One of the repeaters will "lock".
The Finished Brewing Station - Front View.

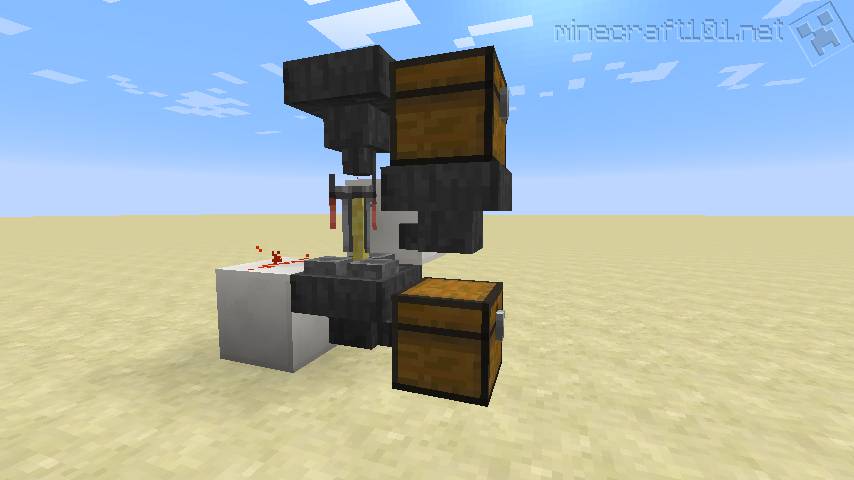
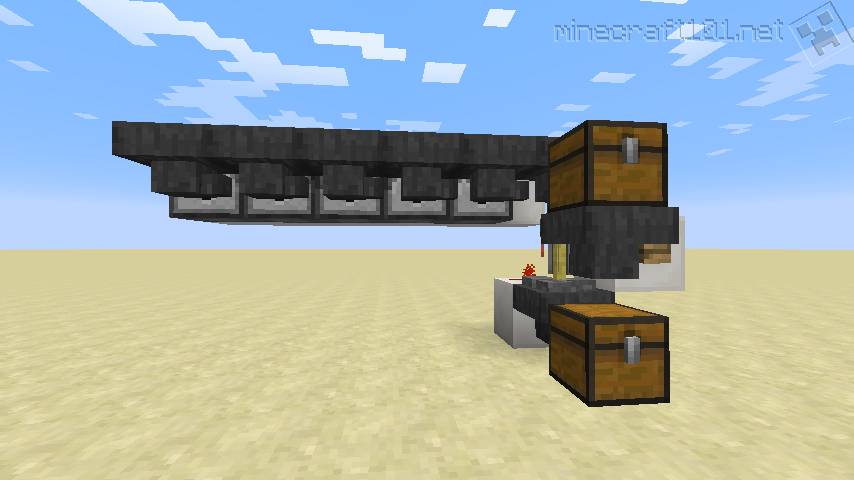
The Finished Brewing Station - Back View.
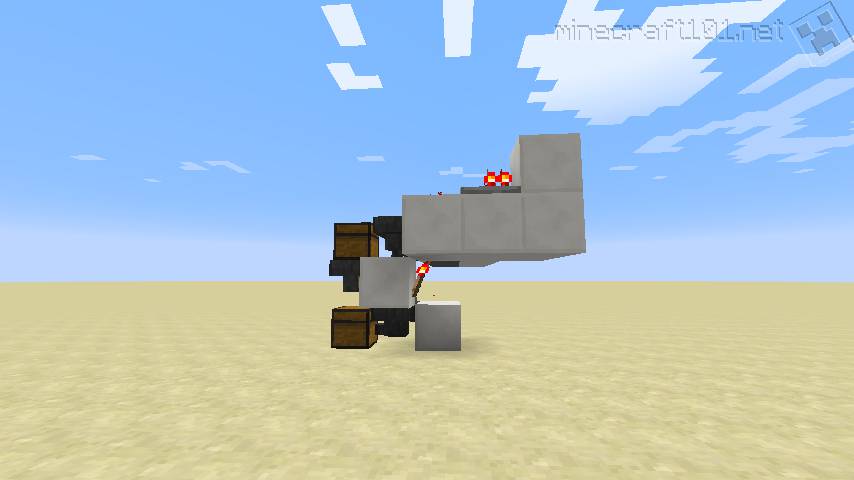
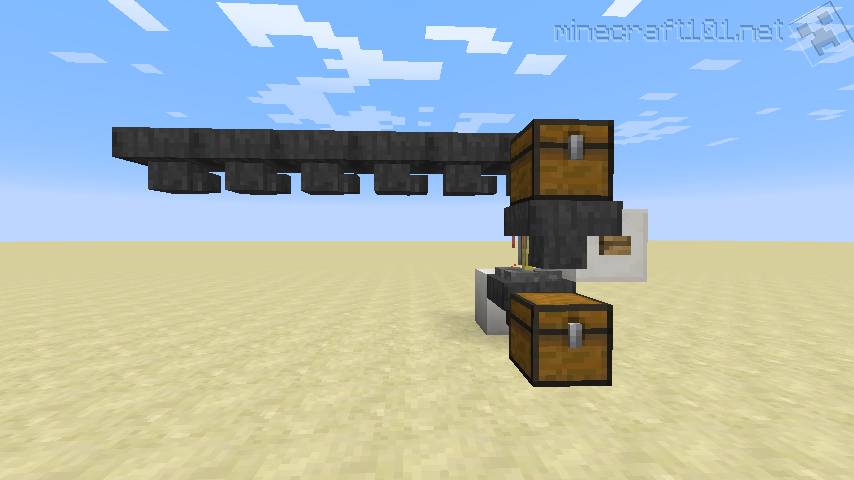
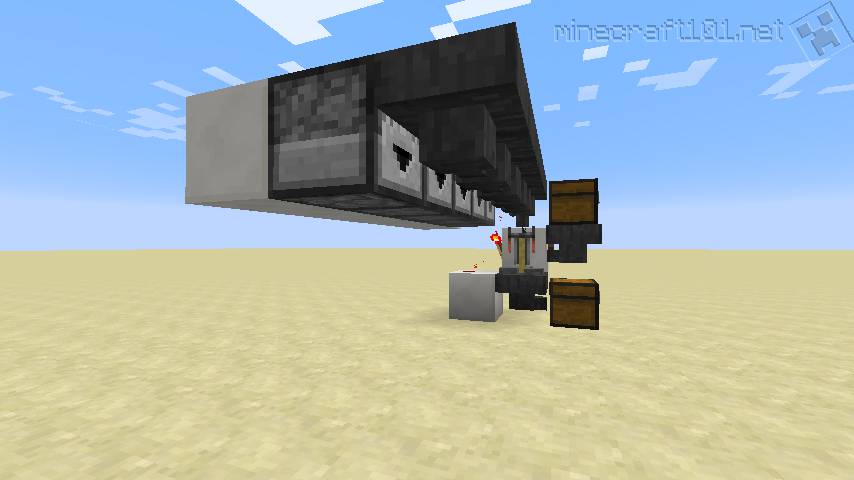
The Finished Brewing Station - Side View.
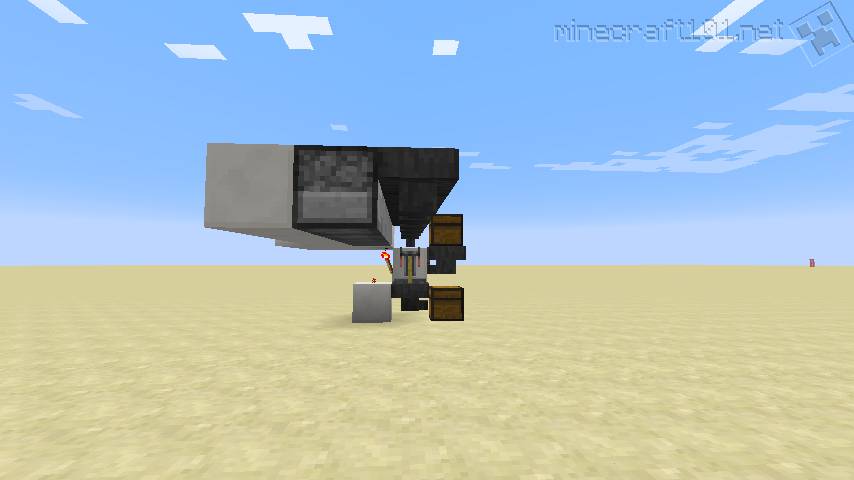
The Finished Brewing Station - Side View.
Operation
Loading the ingredients
Load up the ingredients. Water Bottles go in the top chest. Potion ingredients go in the droppers, in the correct order. The first ingredient should be closest to the Brewing Stand, the second ingredient next closest, and so on.
When you place the Water Bottles, the first 3 will disappear immediately into the Brewing Stand. The next 5 will disappear into the Hopper. After that, the Water Bottles will fill the chest.
Operation
Push the button. Potions will be dispensed into the bottom chest. A new batch of potions will start brewing. (The first time after building the brewing station, you will just get water, but after that it should work).
Allow the potions time to brew before pushing the button again.
You can access the brewing stand to see if brewing has finished.
Technical Notes
We use a wooden button rather than a stone button, because a wooden button generates a longer redstone signal. With a stone button, there wouldn't be enough time for all three of the potions to be released from the brewing stand.
However, this long signal causes problems elsewhere, If this signal was used to directly trigger the droppers, they would release two items each (one as the button clicks "on", and the other as the button clicks "off". This is why we need the arrangement of redstone repeaters that acts as an edge detector: a short pulse is emitted only as the button clicks "off".